During the COVID lockdown, I got into electronics, having been focused on software for the last 30 years. After building a breadboard computer, I took a Udemy course on electrical engineering to brush up on the basics of electronics and then started to build some circuits on breadboards. Before long I found myself watching teardown videos on YouTube from the likes of DiodeGoneWild, GreatScott, Ian Scott Johnston, and BigCliveDotCom, to name but a few. I even started watching retro repair videos from Adrian’s Digital Basement.
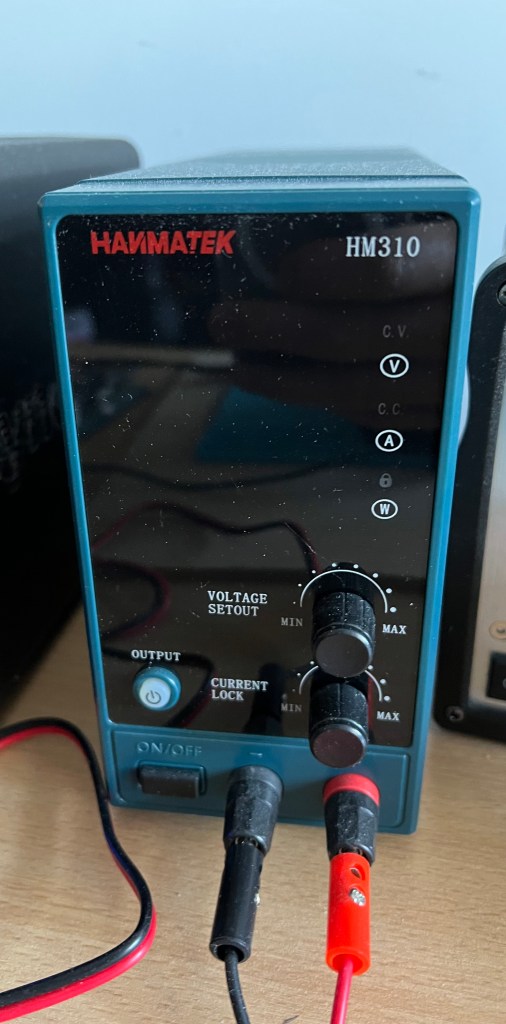
In order to get more into electronics, I needed some gear. I didn’t want to spend a lot, as it would only be a hobby, but there were some essentials. I started off by buying a bench power supply, a Hanmatek HM310 (30V/10A). This would allow me to easily power my creations (of course a battery also works but isn’t as flexible). I got it when it was on sale and so it only cost me about £56.
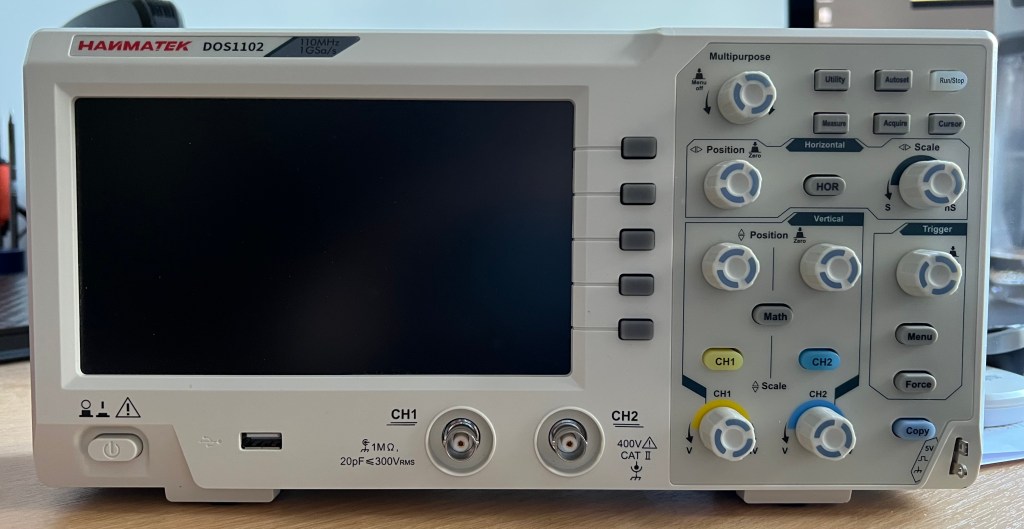
The next purchase was a cheap oscilloscope so that I could visualize what was going on in my circuits. I opted for a Hanmatek DOS1102 for the sale price of £160. I wanted a Rigol, but they were too expensive.
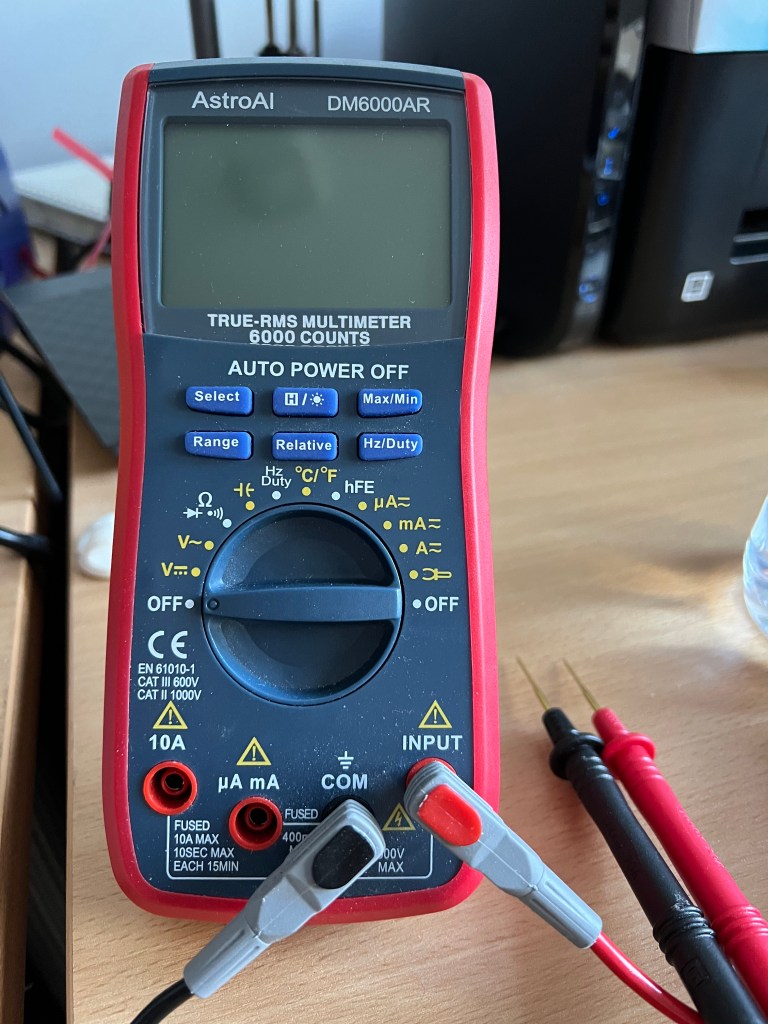
I also needed a multimeter. I ended up buying a few over the weeks, but the one I use the most is an AstroAI DM6000AR. Most multimeters are fine, I think this was around £25.
With this equipment, I was all set to start building and testing electronic circuits.
Enter micro-soldering
One day I became transfixed by computer repair videos from NorthridgeFix, TheCod3r, and Adamant IT. I was intrigued by how so many computers could be repaired by BIOS reflashes and MOSFET or capacitor replacements (short circuits). I decided to have a go myself, but for that, I would need some more equipment (not expensive.)
I ordered a cheap Andonstar 207 200x microscope from Ali Express. It is pretty good and only cost me about £90 including shipping. The base is small (I built myself a bigger one out of wood) and I can’t fit large ICs on the screen, but the picture quality is excellent.

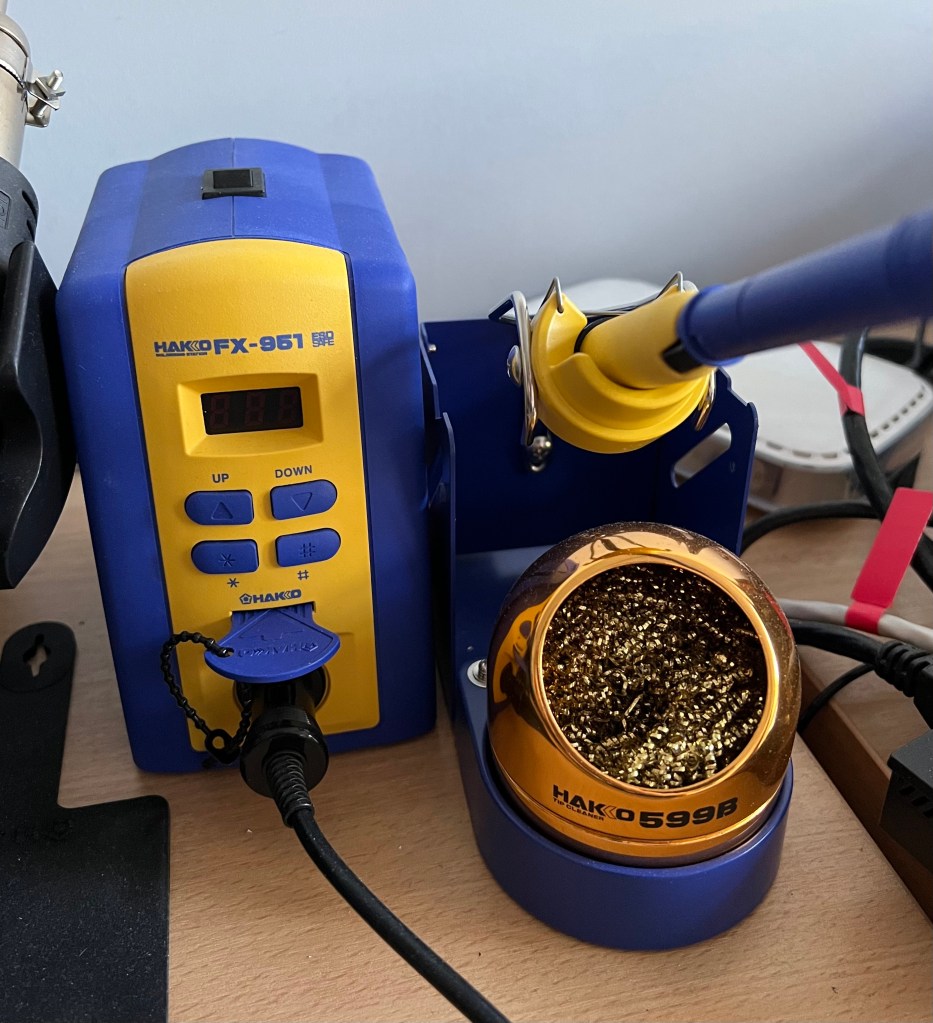
I needed a good soldering iron, as my initial one wasn’t great. I ended up buying an expensive one – a Hakko FX-951 with extra tips. I think I paid around £340. My most expensive gadget, but it is brilliant. I have since also bought the micro-soldering attachment. By the way, the circuit board holding in the picture is perfect.
Another essential piece of gear, I discovered by watching most videos that NorthridgeFix has published, is a hot air station. I opted for the Yihua 959D. It was cheap and does the job. Hot air is often needed when removing components such as ICs, especially on multi-layer PCBs.

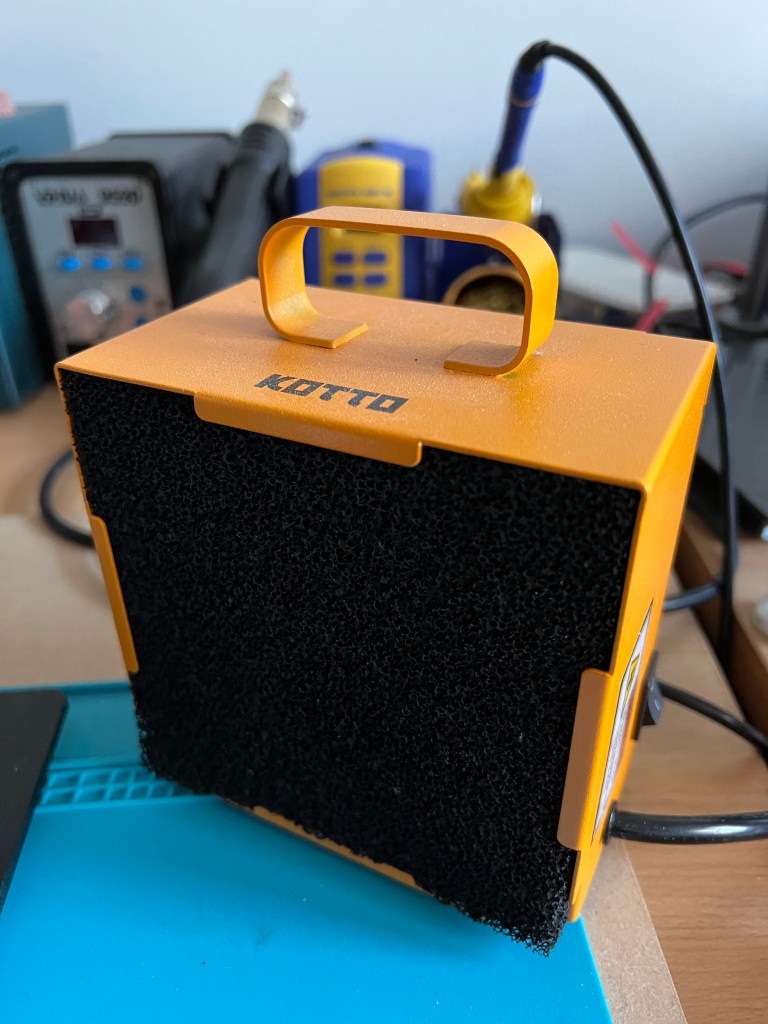
Flux (I use Amtech 213 at the moment) is pretty toxic, so some fume extraction is essential for your health. Since I don’t have a lot of space, I opted for a cheap Kotto. It does the job given the amount of soldering I do (not that much). If I was soldering all day, I would get something more substantial.
One of my most recent purchases was a thermal imaging camera. These have always been out of my price range, but I have seen many videos where they are used to detect short circuits. I came across the UTi260B on NorthridgeFix and managed to pick one up on Ali Express for only £260. Unfortunately, shipping from the US West Coast is too much at the moment. The camera has specs that are close to the £4000 FLIR cameras – 256 x 192 resolution at 25Hz!

Practice makes perfect
So far I have been practicing my soldering skills with through-hole kits and SMD practice boards. I haven’t had the confidence to buy a broken laptop on eBay and try to repair it. One day I absolutely will. Of course, I have since purchased other smaller items, such as a PCB grinding pen and a UV pen for curing solder mask (my daughter also uses that for her nails!)
